
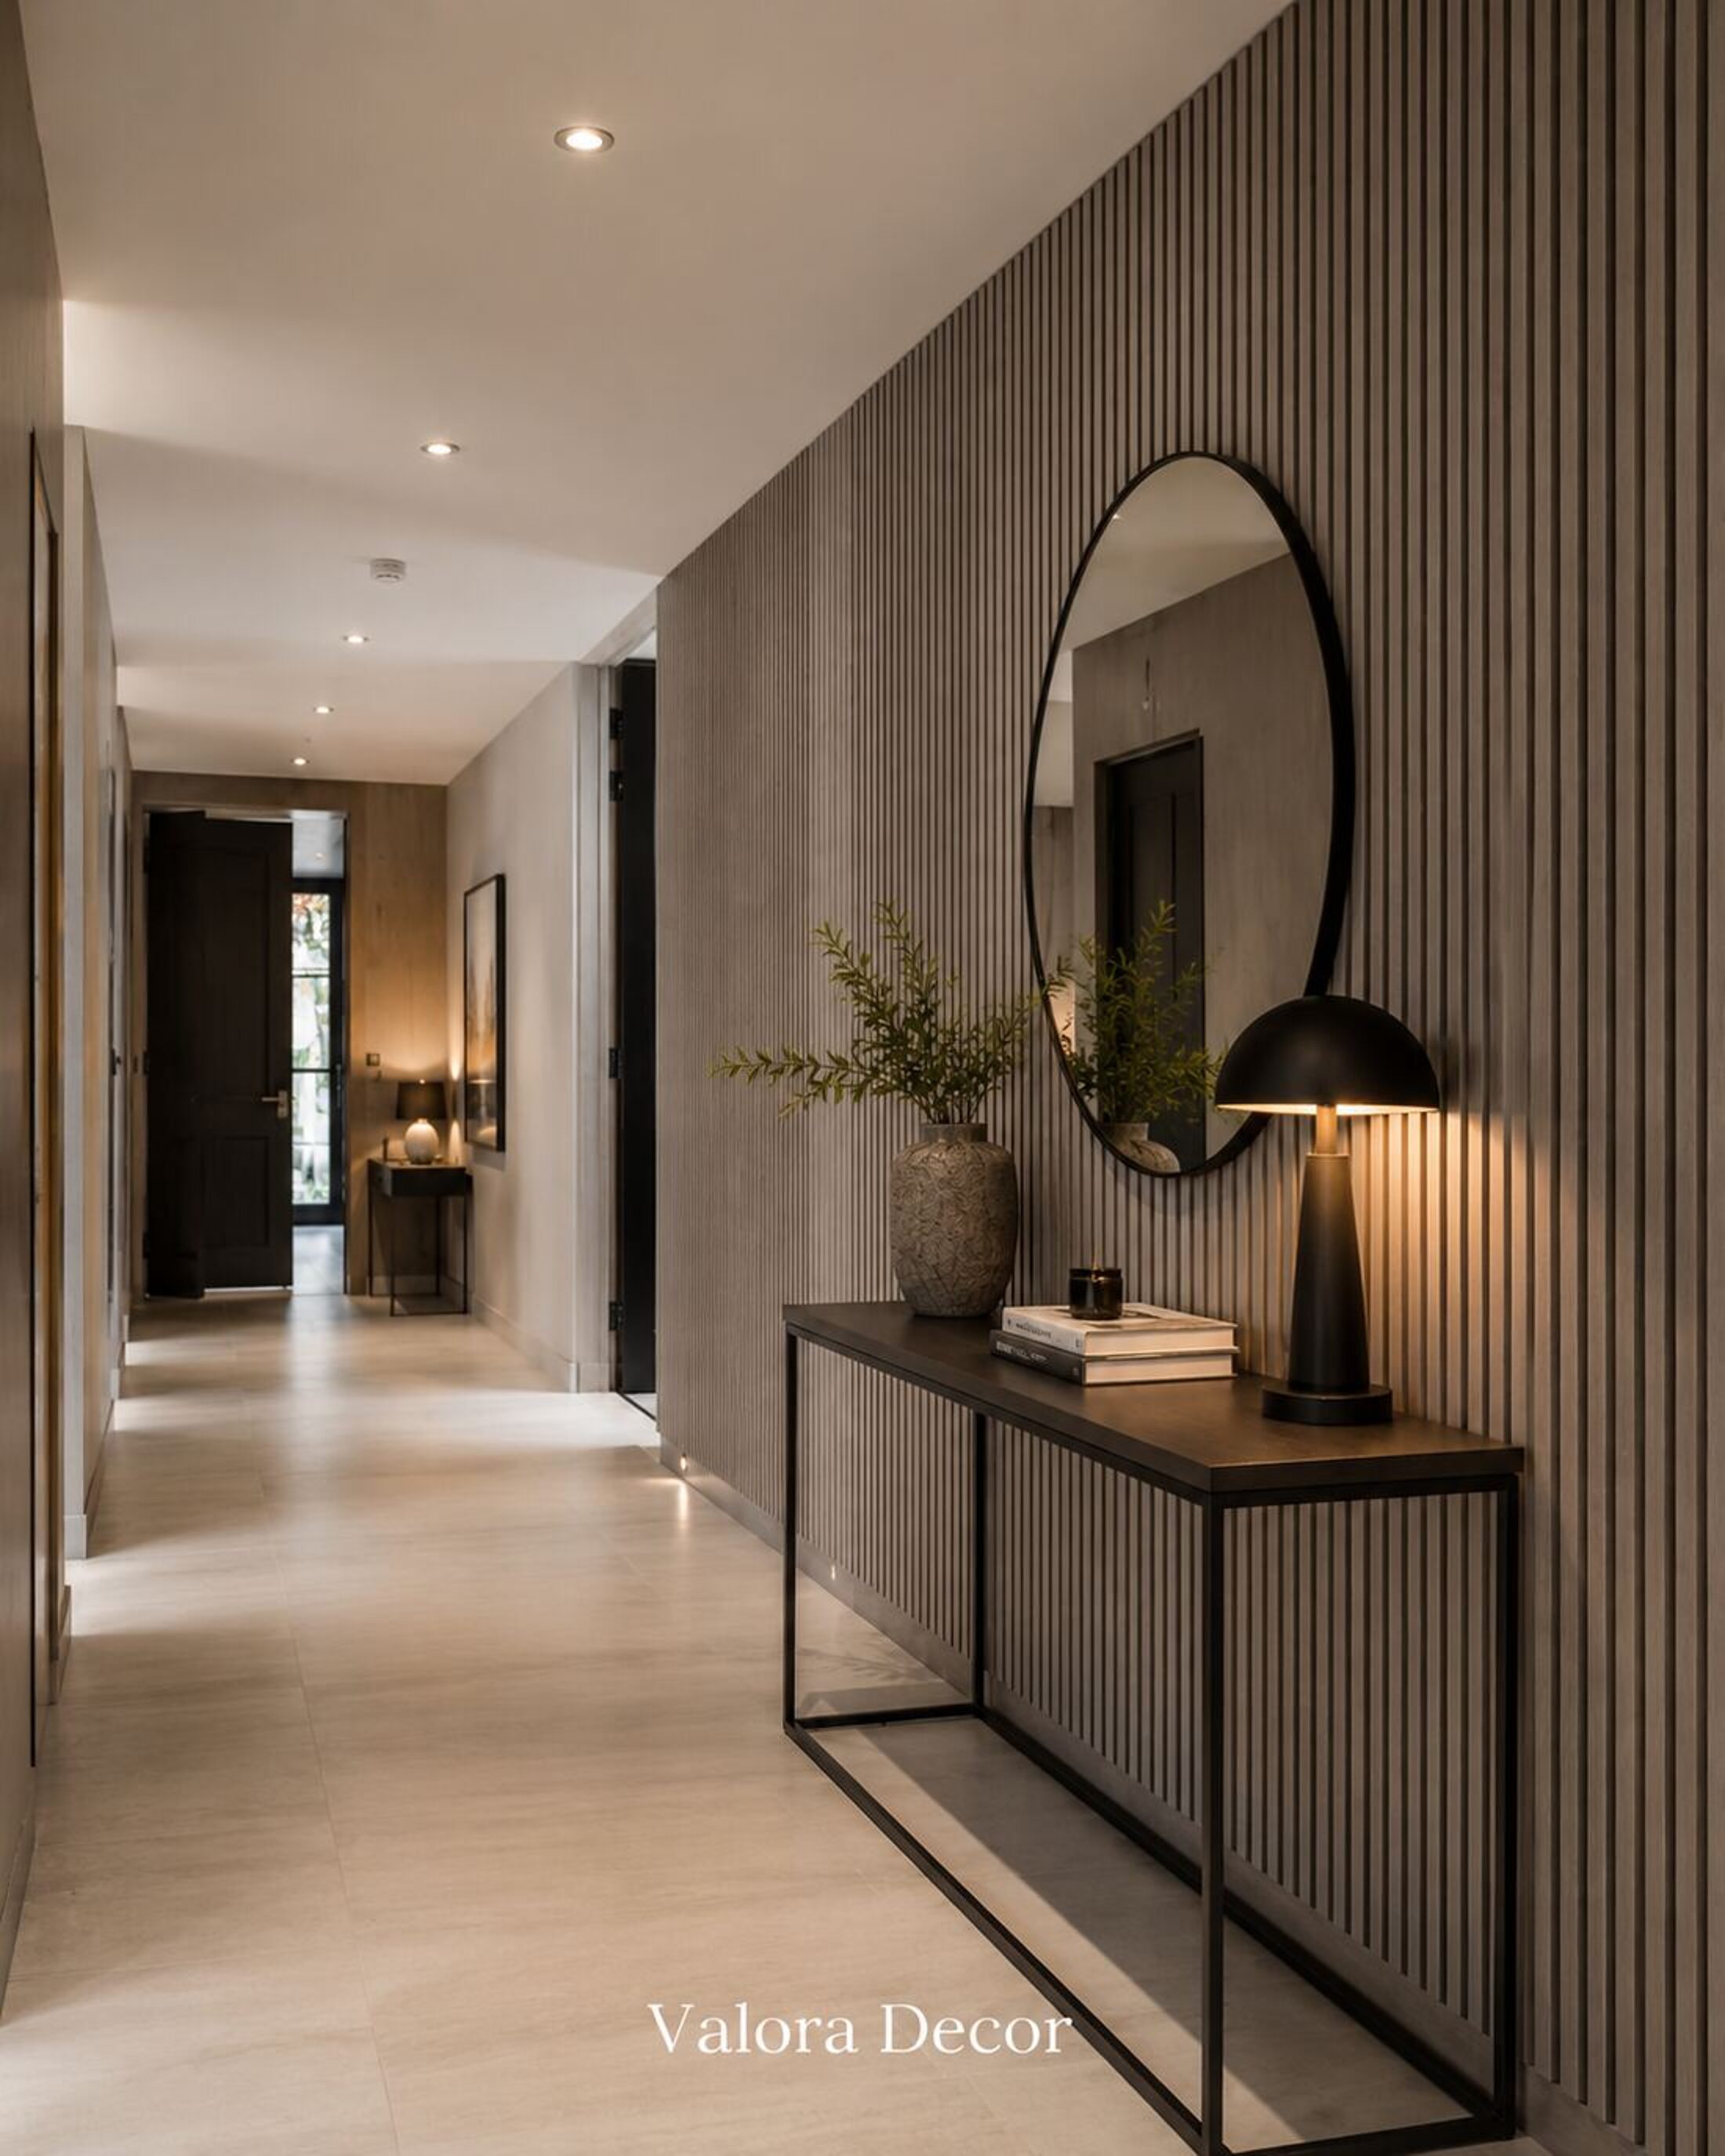
What you'll need
- Panels (one per 2 ft of wall width; see how many panels you need)
- A circular saw or a saw with a fine-tooth blade
- Tape measure, pencil, level or laser level
- Stud finder
- Construction adhesive, black or dark screws (for felt-side fixing), or both
- Matching trim for the exposed edges, if your wall doesn't end at a corner
Step 1: Pick your mounting method
There are four ways to put the panels up. The right one depends on your wall.
| Method | Best for | Notes |
|---|---|---|
| Glue only | Smooth, sound drywall where you won't remove the panels | Cleanest look, no visible fixings |
| Screws only | Drywall over studs, or when you may want to remove panels later | Screws go through the felt between the slats, where they're hard to see |
| Glue and screws | Most home installs | Screws hold the panel while the adhesive cures |
| Battens | Uneven walls, concrete or brick, or when you want hidden wiring for lights | Adds a gap behind the panel, which can also help with sound absorption |
If you're not sure which one fits your wall, send us a photo and we'll talk it through with you.
Step 2: Prep the wall
Turn off power to any outlets and switches on the wall and remove the cover plates. Mark your studs. Check the wall for flatness with a level: high spots or bows will show through as uneven slats, and that's when battens are worth it.
Step 3: Measure and plan the layout
Measure the wall width and decide where the first panel starts. Most people start at one corner or at the center line of a TV or bed, then work outwards so the cut panels end up evenly on both sides.
Measure the height in a few places. If the ceiling is lower than 9.5 ft, cut each panel to height, leaving a small gap at the top so it slides in easily. Ceilings are rarely perfectly level.
Step 4: Cut panels to height
Cut from the back (felt side) with a fine-tooth blade to avoid chipping the slats. Support the full length of the panel while you cut.
Step 5: Fix the first panel plumb
The first panel sets the line for the whole wall. Hold it in place, check it's plumb with a level, then glue and/or screw it. Screws go through the felt in the gaps between slats.
Step 6: Work across the wall
Each panel's edge meets the next, so the slat rhythm continues. Check plumb every two or three panels. For outlets and switches, measure from the last panel and the floor, mark the back of the panel, and cut the opening. Use box extenders so the cover plates sit flush on the slat face.
Step 7: Finish the edges
The last panel in a run is usually cut down to the remaining width. Cover any exposed end with matching trim, or end the wall at an inside corner.
Adding lighting
COB LED strip behind or between slats gives a continuous line of light with no visible dots. If you want lighting, plan the wiring before you fix the panels. Battens make this much easier. See slat walls with LED lighting.
Don't want to install it yourself?
Installation is available on select projects. Send us your wall measurements and we'll give you a free installation quote, or help you plan a DIY install.